Monday, April 19, 2010

My last blog


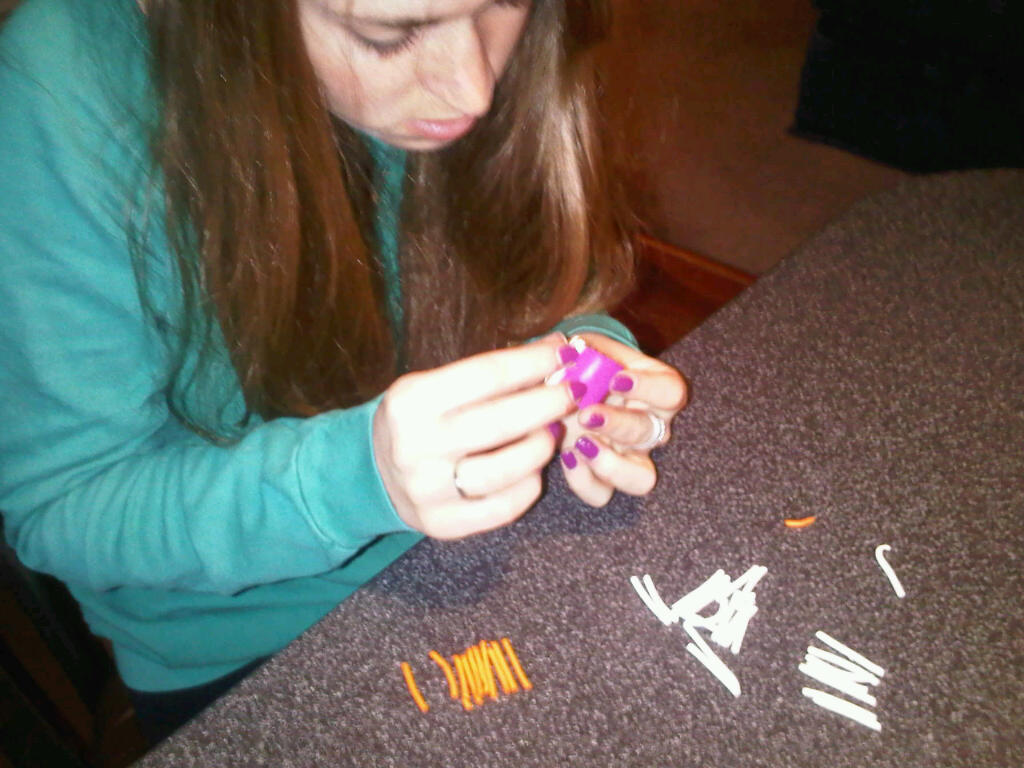
For my last blog I decided I wanted to put some of my beads I have made through out the semester to use. I didn’t want to make new beads because I have a bunch of beads just laying around without any use for them. When deciding on what I wanted to make I wanted to make jewelry or accessories but with materials that I already own. I decided that I wanted to use material that I already own because it relates to the topic we have gone over in class about using materials you already have to make something new, and the purpose of this is to save money and find a new use for something that you do not use anymore. I started looking through my apartment and found hair ties like the ones that I used on my last blog. I cut one of the hair ties and tried to find some beads with holes big enough to string on the hair tie. I found 3 beads that went well together and strung them on the hair tie that had a knot at the end. Then I tied that string of beads onto another hair tie that is not cut. My product was finished but then I decided I wanted it to have more to it. I found an old necklace that worn while watching sporting events and I cut it into 2 equal pieces and tied them on. When it was finished I decided that this product could be two different things, it could either be a keychain or it could be a hair ornament for a little girl. I like that I was able to make something that had multiple purposes because making products that have a multiple purpose save you money. I tried to make other products with the beads I had but the holes were too small to fit on the hair tie, so I decided I would have to go to the store to make my next item.

Having this blog all semester and learning how to work with clay has taught me a lot. I was able to learn how to properly handle clay and how to make multiple different items with the clay, as well as learn from the mistakes I had made. I was also able to learn how great it is to utilize waste products while making a project because it could really save you a lot of money and time. I hope everyone liked the products I have made over the semester!!

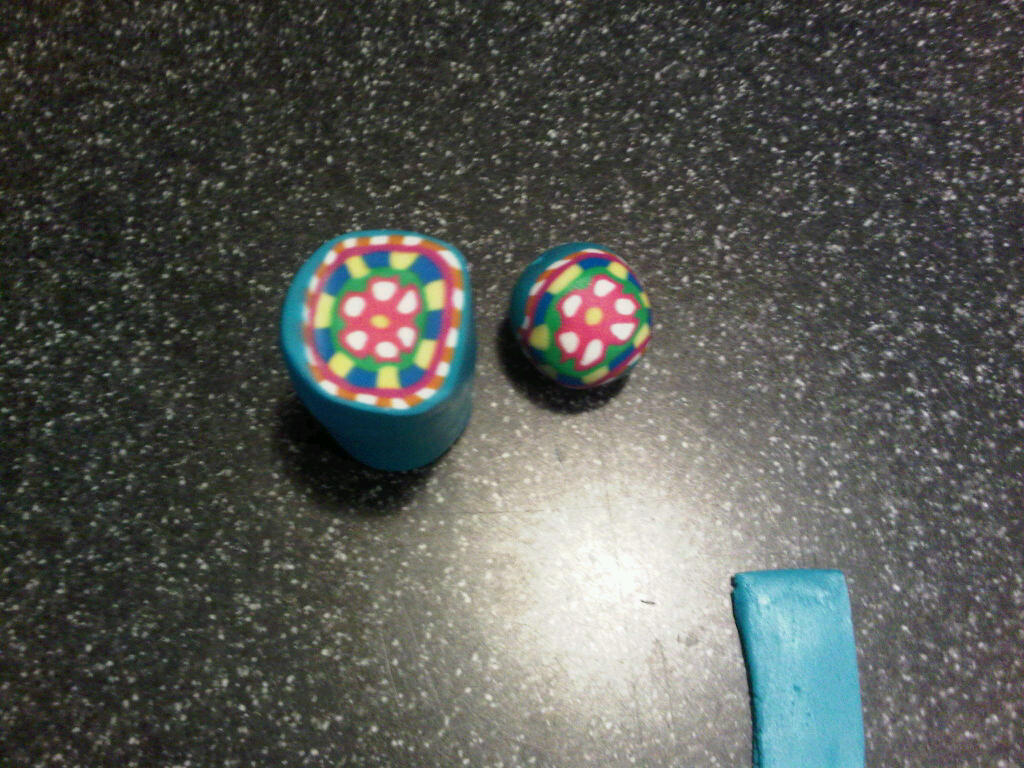
Here is the finished product!! Sorry the picture quality is not great

Sunday, April 11, 2010

Not your typical Keychain


For this weeks clay project I decided I wanted to make something that was school spirited, since little five is coming up. I wanted to make beads that said IU and other beads that were red and white. I decided that I was not going to use a cane technique that I usually use to make my beads, because it would be too hard to make a cane that said IU. I looked through the book I bought called “Baked Beads and Beyond! Making Magic Oven-Bake Clay” to see if there were any techniques I could use to achieve this design I was thinking of. I saw on page nine a technique that would be very useful for my project. The technique was making “snakes” which are just long thin logs of the clay, and then laying the snake on the bead and making a design with the snake.

The first step for me was to take my red clay and roll the clay into four different beads. After I did that I used my clay extruder and used it to extrude white thin snakes. Then I took the snakes and cut them into pieces so I could make the letters I and U. I used the snakes and made I on one bead and made U on the other bead. After the IU beads were finished I wanted some accent beads to go next to the IU, so I decided to make red and white striped beads. I used the snakes again and just wrapped the white snake around the red bead.  The beads came out great but the striped beads were not perfect but still had that red and white striped look. I decided I wanted to make something with the beads, and thought I would probably not wear IU jewelry and decided the beads would look great as a key chain. I didn’t want to go out and buy materials to make a key chain, and I wanted to be resourceful. I looked around my apartment to see what I could use to make this keychain and found some hair ties that are used to tie your hair back. I took one of them and cut it in half and made a knot at the end. I then string on the beads and tied the string with the beads on to another hair tie. I did not look like a normal keychain but it was good enough for me, since I did not have to spend any money.

Using materials that I already owned relates to some of the topics we have gone over in class such a being resourceful by using materials you already have. Using materials that I already have is important to me because it saves me money, time, and gives me a new use out of something I was not using. For my next project I want to try and take the beads that I have made and make them into something I could use or wear. 

Source: Bergen, L. R. (1995). Baked Beads and Beyond!. New York: Grosset & Dunlap.

Snakes made with the extruder
The IU beads

The finished Keychain 

Sunday, April 4, 2010

My Shoe Creation!


For this weeks blog post I decided to gear away from my weekly clay project. I wanted to share a different project that I had been working on this semester that relates to our recent class topic of cheap, and previous topics of crafting as a means of saving money. Last Summer I lived in New York City for six weeks. New York is the capital of great shopping with familiar and unique stores all around you. While shopping around in the City I saw a pair of shoes at this little boutique that I loved! They were black high top Chuck Taylor Converse shoes that had studs all over the side of the shoe that faces out. I loved these shoes because I thought they were so unique and trendy, but I looked at the price tag and they were $500! I was amazed to see how expensive these shoes were considering regular converse shoes cost around $45. I thought $500 was crazy for a pair of gym shoes with a bunch of studs on them, and decided that I would be absolutely crazy to buy this pair of shoes at that price and they will most likely go out of style in a year. Usually when I see something I really like and I don’t like it I usually forget about it, but when I walked away and didn’t buy those shoes I could not stop thinking about how much I loved them. I kept thinking about them and a thought came to my mind that I could easily make these shoes.

Over the years I have loved making craft projects and I have always been very good at them and have made some great stuff, and have even used studs like the ones on the shoes. I thought I could buy the plain black Chuck Taylor Converse shoes at a store and do the studding myself.  I had this idea in my head for a while but didn’t have time to get the materials until this Christmas Break. I bought the shoes at a discount shoe for $39.95 and ordered a studding kit online that was about $20. The kit included two tools that you use to punch holes to put the studs in, and it also included three bags of different size studs. I got my stud kit in the mail and started making the shoes. The shoes were not very difficult to make but it was very time consuming and it hurt my fingers, because each hole had to be punched by hand and the prongs on the studs had to be bended back by hand. I also did not have directions on the design of the shoes that I saw over the summer, so I had to try and remember what I saw and use my own creative ability.  This took me about six hours to finish the pair of shoes. The shoes turned out great, but they do not look exactly the same, because the first one I did was not as neat because I was teaching myself how to do this and getting a hang of the whole process.

The whole process of making these shoes relates to many of the concepts that we have been discussing in class, such as creating and making projects in order to save money. In this case my motivation for making these shoes was to save money, and I saved about $440. It would have been a lot easier for me to purchase the shoes at the store that already had the studs on it, but putting my time and effort into making these shoes made me feel a sense of accomplishment and success that I saved all that money and made them myself. I wear the shoes all the time and get so many compliments on them, and people can barley believe me when I tell them I made them myself. Since I have gotten so many compliments on the shoes I would love to try and sell them! Seeing people’s reaction to my shoes and their reaction when I tell them I made them is better than any $500 pair of shoes! For my future blogs I plan on continuing my clay work, and maybe try making projects with the clay that are not beads. 

Here are the studs I used and one of the tools I used to put the studs on the shoes. I finished these shoes about two months ago and have misplaced the other tool. 
The final Product!! 

Sunday, March 28, 2010

Teaching Experience

For this weeks project I taught my friend Melissa how to make beads. She did not create a design from scratch, but I had her look at my flower cane and ask her what she would want to add to the design to make it look better. She decided that she wanted to create a layer that had two alternating colors but instead of having squares like the previous layer she wanted to have circles. She picked out the two colors she wanted which were orange and white, and I started explaining to her step by step what to do. The first thing she did was take the clay extruder and put white clay in it and extruded a long white piece. Then she cut it into pieces that were the length of the cane that she is adding to, and did the same thing with the orange clay. After the white and orange clay were cut into equal lengths I told her to then place the logs one color after another onto the log. After she was done adding all the pieces on the cane I told her to then roll out the cane so that all of the new pieces were part of the cane. After she was done with that I asked her if she wanted to add anything else to the cane. She wanted to add a single layer of turquoise to go around the whole cane. I then explained to her how to do it and she followed the steps I instructed. She took the clay and put it through the pasta machine and rolled it out on the thickest setting. Then she wrapped the piece around the cane. I told her to roll it out again and she made the first cut into the cane and it looked great!

The reason why I taught my friend how to make a clay cane or to add on to a clay cane was to see if I have mastered the skill enough to teach someone else how to successfully make a clay design. I would say that with the results I did a very good job on teaching her how to make a clay cane and think that I have the basic skilled mastered. I also decided I wanted to teach my friend because I wanted her to add on to my cane, so it is a project with different creative perspectives. Next week I will try to create a new design I have not attempted and maybe learn a new skill to apply to my clay making.


                       Here is a picture of Melissa extruding the clay 


                     This is Melissa putting on the pieces to the cane. 

                       Here is Melissa using the pasta machine

                           Finished Project

Saturday, March 6, 2010

The Beauty of Frugality

This week I was still stuck on last week’s blog topic of reducing waste. After reading the Article “Making Do: The Aesthetics of Frugality” by Rebecca L. Lawrence, it inspired me to think out of the box. It inspired me to try something new besides making various kinds of beads, but to make new objects out of the clay canes that I have already made. In this article Rebecca speaks about that where she grew up in Northern New England, she would hear the phrase “make it do, or do without” (Page 23). This quote describes how these people would make crafts out of items that were not useful anymore, and would turn them into something useful. For example they would rip up old sheets and turn them into a rug to warm up the floors (page 23). This whole idea of taking materials that were not useful anymore and making them into something beautiful and useful got me thinking deeper.


I decided that I was going to use the clay canes I had already made and use them all to make different objects other than beads. The first project I did was taking a plain boring pen and turned it into a beautiful colorful clay covered pen. I did this by first taking the ink part out of the pen. Then I took clay scrapes that I had from other clay projects and put it through the pasta machine so it was flat. Using all of the different clay scrapes that were different colors made the sheet of clay to look like marble. Then I rolled the clay around the pen, and started taking the cut pieces from all the different canes I have made and putting them onto the pen. After all of the cut pieces from the canes were put on the pen I rolled the pen so the pieces would stick. I then baked it at 200 degrees for 20 minutes, and after it was done baking I put the ink back in the pen. The finished pen looked nothing like it used to, and now it was aesthetically beautiful and the clay that was going to waste was now used.

Here is the pen before

After the clay scapes were rolled out
(Has a marble look to it)

The pen with the clay sheet wraped around it.

The finished product!!


After I made the pen I decided I wanted to make something else. I thought of making a drink coaster, because when you cut the pieces from the clay canes they are flat, and making a coaster would be easy. I thought if I cut a bunch of my clay canes and put them all together it could create a beautiful coaster. I cut the different clay canes and arranged the different pieces into a round flat coaster. Making this coaster took barely anytime, and I was using materials that were going to go to waste if I had not used them. After baking the coaster it cooled down and was hard and ready to use. I showed the coaster and the pen to my friend and she was amazed that I could make something like that, and she thought I should sell them in stores. They are beautiful but I’m not sure I’m good enough yet to sell my designs in stores.

The finished coaster


Reading Rebecca L. Lawrence’s article was very beneficial for me, because before I read her article I didn’t think I was ever going to be able to do anything with my extra clay canes and scrape pieces. Not only did I make two beautiful pieces of art but I was able to reduce waste at the same time. For my next post I hope to be able to teach someone how to make a clay cane, and to have them add on to the cane as well.


Sources:

Lawrence, R. L. (1999). Use it up Wear it out Make it do Or do without. Making Do: The Aesthetics of Frugality (pp. 23-25). Washington, D.C.: Smithsonian Institution.

Sunday, February 28, 2010

Reducing Waste By Adding On

This week I decided to add on to the project I worked on last week. Every week I have created a new form of a clay cane but I have never simply just added on to a cane that I have already made to create a totally different look. I got this idea from http://www.polymerclaycentral.com/cyclopedia/simpleflowercane_mia.html website where it showed me the steps to how to add on to my flower cane I made last week. The real reason why I wanted to do this project was to prevent wasting my materials. I found that when making these canes I use a great amount of clay, and then when I have made a few beads out of the canes, I still have this long cane left over. All of the different canes I have made just sit there waiting for me to make something out of them. So in order to reduce waste I decided I was going to use the example on the website and just add on to my flower cane to create a totally different and new look.


I found these extra steps to be very easy, but they made the cane look so much better. The first step I did was use my extruder tool and extrude a long square yellow cane and then a long square blue cane and cut them into 7 equal pieces and put them in alternating order of blue and then yellow and placed them around the cane and rolled it out so they were sticking to the cane. After that was done I had one more step, which was to flatten a purple piece of clay on the thickest setting of the pasta machine and wrap it around the cane. I did that and rolled the piece around the cane and took my first slice into the cane and it looked great!!! I was so excited about this design because it looked so complicated but it really wasn’t because I was just adding on to a design I had made previously.


This whole process of just adding on to my previous project reminds me of the AIDS awareness quilt we spoke about in class. Although I am one person making this project I am putting it together in pieces, just like the AIDS quilt was put together by many different people to create one quilt. I think it would be cool to have different people add on to my cane to have a finished project because then it wouldn’t just be my own work but it would be the work of many other people.


For future projects I hope to try and teach a friend how to make a clay cane and to hopefully have them add on to one of the canes I have made, and start creating a group project with many different people.


This is the cane that I started with from last week.


Here is the cane with the alternating yellow and blue stripes.


This is the final cane with all the added on elements!


These are come of the beads that I made with this cane.

Friday, February 19, 2010

Second Attempt of the Flower Cane

This week I decided I wanted to go back to the first clay beading project I attempted, which was a simple flower cane. I decided I wanted to attempt making the flower cane again because, when I made it the first time I did not have the tools and experience that I have that would make the cane aesthetically look better. I wanted to use this as a test to see if my clay skills have improved since the first project, and I would be able to compare how they look. I decided I was going to try and find another website to follow the directions off of and see if that made any difference. So I searched the web and found this great website http://www.polymerclaycentral.com/cyclopedia/simpleflowercane_mia.html where they had step by step instructions and pictures on how to make a simple flower cane, which was very similar to the one I tried weeks prior. I got my clay station ready by putting down wax paper, and began following each step the website instructed.


The first step was to roll out a log of pink clay and then cut it into 6 equal logs. I noticed on the website the picture of the pink logs looked as if they were white logs with pink wrapped around them. I wanted my cane to look exactly like the one on the website, so instead of following the exact directions I made up my own step. I used my clay extruder tool with the circle plate and extruded a long white log. Then I used the pasta machine, and on the highest setting and rolled out a sheet of pink clay and wrapped the pink sheet around the white log. After the white log was wrapped in the pink sheet, I cut it into 6 equal pieces. I did the same thing for the middle piece of the flower which was yellow clay with pink wrapped around it, but I had to roll it out so it was thinner than the white and pink logs. Without even finishing the project I was able to tell that my clay skills have improved, because I was able to look at a picture and execute how to make my project look just like the picture. For the rest of the steps I followed them exactly as they were stated on the website. The cane was finally finished and I made the first slice into the cane and was ecstatic with my results. This time around my flower cane came out just like the picture and it looked great.

This week’s project was a huge learning experience for me as well as a reassurance that my clay making skills are getting better. By going back and remaking a project that was not much of a success helped me realize that when making such intricate clay designs that it is okay to use tools to help you through the process of your work, and that doing it all by hand without any kind of helpful tools may not have the best resulting look. This project is evidence that using technology to make clay beads helps make the beads more uniform. I wanted to make my beads look uniform and have it look exactly like the picture shown on the website because, when I see the picture on the screen and then look at my actual work and they match up I feel a sense of accomplishment. I feel like I have done the project the exact way I was supposed to. The first time when I made the flower cane I saw that my project did not look like the picture on the website and I felt a sense of failure and was disappointed. Now looking back at the first cane I can now appreciate that I made that cane completely by hand without any tools or technology and although it did not look exactly like the picture on the website it was my own purely handmade creation.

For my next post I think I want to add on to the cane that I made this week, because of the website I used for this week’s project there is an extra part where you can add on to this cane and make it even better. I would also like to try and attempt teaching a friend how to make a cane and see if I have developed enough skills to teach someone and have them successfully create a clay cane.

This is from my first attempt of the flower cane. From my previous post.
These are all the logs I had to make for this flower cane.
This is the successful flower cane!
These are the different kinds of beads I made with my new flower cane!